This past week my niece sent me a picture of a scrappy quilt that someone had posted on Facebook because she thought it looked like something I would make. She was right! It is a great quilt that uses lots of scraps and doesn't need a background or neutral fabric to go with the scraps.
Unfortunately, it was just a picture with no information about the pattern name or who designed it. I have contacted the original poster to see if I can get that information but that could be a few more days (once I get that information I will update this post to let you know). I really don't have much patience when it comes to quilts so I decided I would figure out how to make it on my own.
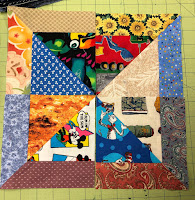
It really is quite an easy pattern so it only took me a short time to have two blocks made:
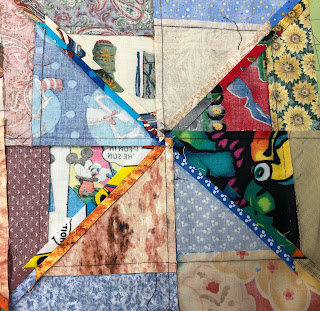
The blocks turned out as expected but I went too small with the pieces so the small center triangles were just too wee. For the tutorial I went a bit bigger.
I shared the original picture along with this one with some Facebook friends who I am doing a challenge with and there was interest in the quilt and how to make the blocks so I am doing a tutorial...
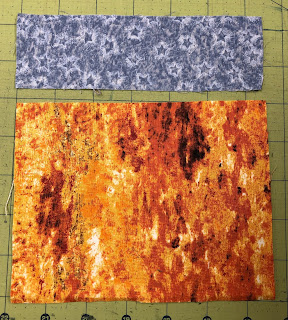
So cutting for this block is really simple. There are only two sizes of pieces for the blocks. The smaller rectangle is 2" X 6.5" and the larger is 5" X 6.5". You will need 8 of each piece to make the two blocks. When cutting for a full quilt you will need to determine how many blocks you want to make and then multiply that by 8 to determine how many pieces you will need.
Match up the 8 pairs of pieces and sew them together.
Match up each of the marked pieces with one of the unmarked ones, nesting the seams.
Sew one quarter inch on either side of the mark.
Cut on the line.
Press the seams. I prefer to press them open when working with triangles to avoid bulky seams.
You will have two different types of squares.
Trim the squares so they are all the same size. Mine ended up 5 7/8" but I was using a sewing machine without a 1/4" foot so my seam were a little wide I think. I think it could have been 6". When you are trimming them it is important to make sure that the narrow strip and small triangles are all the same size as that is the seam you will want to match up.
Lay the squares out to make the two different blocks and sew them together
When I make more blocks for a full quilt I will mix the pieced squares for more variety.
Using the measurements given you will end up with 11" finished blocks. You can also make it using 2.5" X 8.5" and 6.5" X 8.5" pieces and your blocks will end up more like 15-16" finished. (The first two blocks I made used 1.5" X 4.5" and 3.5" X 4.5" pieces.)
Hope this makes sense and I am looking forward to getting back to writing and sharing more about my sewing, grandkids, travels, garden, etc.


